
How to add a contact form with Eleventy (11ty)
Add a contact form to your Eleventy (11ty) site with no backend. Copy-paste HTML plus an optional JavaScript submission with an inline thank-you message.
FormBackend is a service that makes it easy to collect submissions from your HTML forms. This makes us an ideal companion when it comes to static site generators.
In this post we’ll take a look at how to add a contact form to a Eleventy static site.
First create your form backend
Log in to your FormBackend account and visit the forms index page. Go ahead and create a new form and give it a name you can remember it by.
After your form has been created, you’ll see the “Submissions” page which is where new submissions will appear. If you navigate to the “Set up” page you can see the unique URL for your form. We’ll copy that!
Create a new Eleventy site
Eleventy is really simple, it takes any file that matches the known extensions and outputs them as .html.
So let’s create a contact.html file in root with the following HTML:
<h1>Contact us</h1>

<form action="https://www.formbackend.com/f/{your-identifier}" method="POST">
  <div class="fieldset">
    <label for="name">Name</label>
    <input type="text" id="name" name="name" required>
  </div>

  <div class="fieldset">
    <label for="email">Email</label>
    <input type="email" id="email" name="email" required>
  </div>

  <div class="fieldset">
    <label for="message">Message</label>
    <textarea id="message" name="message" required></textarea>
  </div>

  <button type="submit">Submit</button>
</form>
Notice the action attribute on the form element. We’ll take the unique URL we copied from FormBackend and paste that in there.
This example form has three fields; name, email and message. But your form can have as many or few as you want. All they need is a unique name attribute, which
is how we store the data when it hits our servers.
If you run
npx @11ty/eleventy
It’ll install Eleventy and generate the files. In order to start the server you run
npx @11ty/eleventy --serve
You can now visit http://localhost:8080/contact/ which will load the file that was generated from your contact.html file that we just edited.
It’ll look like this
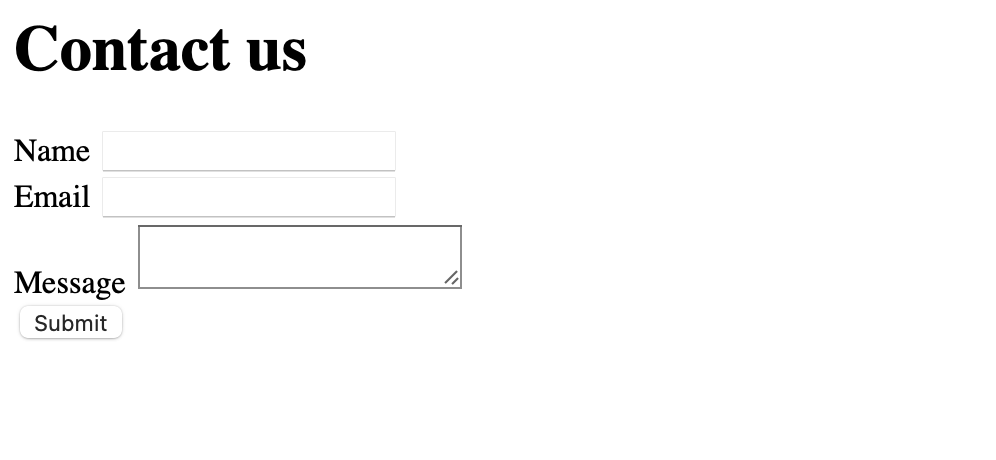
We can make that look a little better by adding some CSS. Go ahead and add the following <style>-tag after the form at the bottom of the contact.html file.
<style>
  body { font-family: Arial, Helvetica, sans-serif; }

  .fieldset + .fieldset,
  form + form {
    margin-top: 8px;
  }

  label {
    color: #334155;
    display: block;
    font-size: 87.5%;
    font-weight: bold;
    text-transform: uppercase;
  }

  input,
  textarea,
  select {
    border: 1px solid #ddd;
    color: #475569;
    font-size: 100%;
    padding: 5px;
    border-radius: 4px;
  }

  button[type="submit"] {
    background: purple;
    background: #14b8a6;
    border: none;
    box-shadow: none;
    color: white;
    border-radius: 2px;
    font-size: .8rem;
    text-transform: uppercase;
    font-weight: 500;
    padding: 8px 12px;
    margin-top: 16px;
  }
</style>
You should now see this if you reload the page:
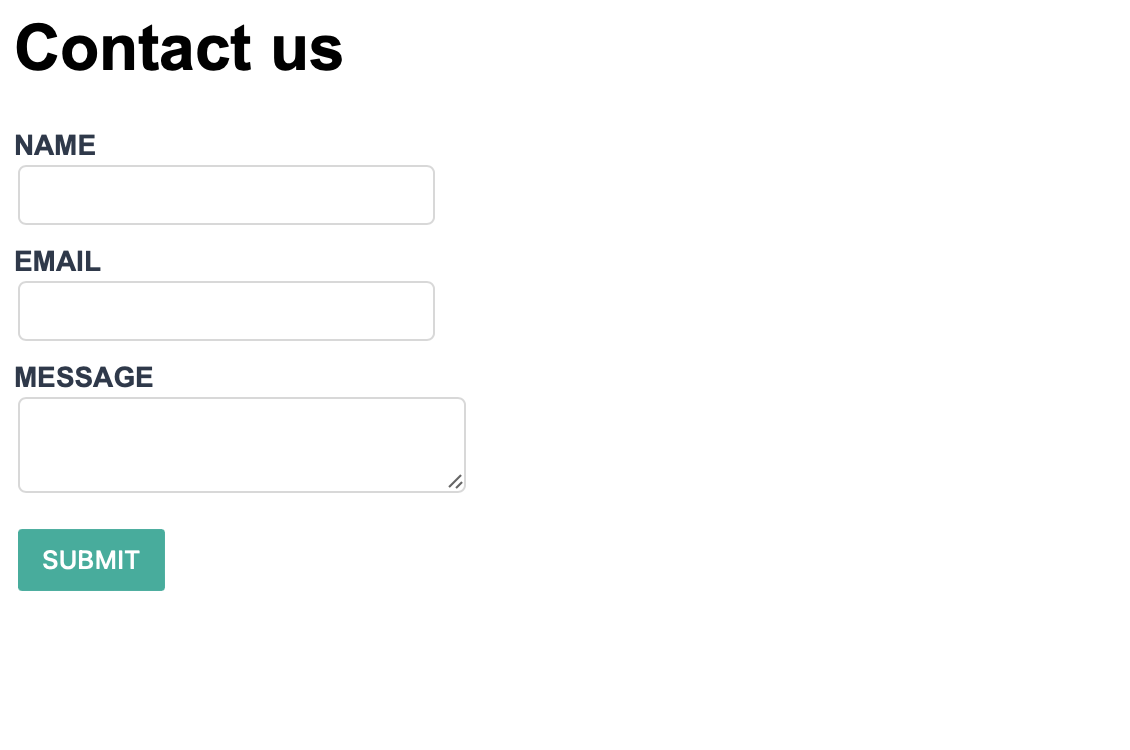
After filling out the form and hitting the submit button, you’ll be taken to FormBackend’s submission success page and if you navigate to the Submissions page for the form you just created earlier in FormBackend you should see the data you just submitted.
Handling submissions with JavaScript
Since Eleventy outputs static HTML, the form above redirects to FormBackend’s default thank-you
page. To keep users on the page and show a success message inline, add a small <script> block
below your form. This pairs well with Eleventy’s approach of staying close to vanilla HTML:
<script>
  const form = document.querySelector('form');

  form.addEventListener('submit', async (event) => {
    event.preventDefault();

    const response = await fetch(form.action, {
      method: 'POST',
      body: new FormData(form),
      headers: { accept: 'application/json' },
    });

    if (response.ok) {
      form.innerHTML = '<p>Thanks! Your message has been sent.</p>';
    } else {
      form.insertAdjacentHTML('beforeend', '<p>Something went wrong — please try again.</p>');
    }
  });
</script>
Calling event.preventDefault() stops the full-page submission, the browser’s built-in
FormData collects every field, and the
accept: application/json header tells FormBackend to return JSON instead of an HTML page.
What to configure next
Your Eleventy contact form is collecting submissions. Here’s what to set up in FormBackend:
- Email notifications: Receive an email for every submission, with optional file attachments
- Auto-reply emails: Automatically confirm receipt to the person who submitted
- Spam protection: Built-in spam filtering is always active. Add Cloudflare Turnstile or hCaptcha for stronger protection
- Integrations: Send submissions to Slack, Google Sheets, Discord, or your own backend via webhooks
- File uploads: Accept file uploads by adding
enctype="multipart/form-data"to your form - Custom redirect: Send users to a specific page on your site after submitting
Guides for other static site generators: Hugo, Jekyll, Gatsby, Astro, and more.
Frequently asked questions
Do I need a backend for an Eleventy (11ty) contact form?
No. Eleventy outputs static HTML and can't process submissions on its own. Pointing your form's action at a FormBackend endpoint gives it a backend that stores submissions and emails you — no server code required. It works on any static host, including GitHub Pages, Netlify, and Cloudflare Pages.
How do I submit an Eleventy form without a page redirect?
Add a small script that listens for the form's submit event, calls preventDefault(), and POSTs the data with fetch and the browser's FormData. Set the accept header to application/json so FormBackend returns JSON. A full example is shown above.
How do I add spam protection to an Eleventy form?
FormBackend filters spam automatically. For more protection add Cloudflare Turnstile, hCaptcha, or reCAPTCHA, or include a hidden honeypot field. See the spam filtering guides.
How do I get notified when someone submits?
FormBackend emails you on every submission and stores them in your dashboard. You can also auto-reply to the sender and route submissions to Slack, Google Sheets, Notion, or any URL via webhooks.
Keep reading
How to add a form to your Gatsby site
Add a contact form to your Gatsby site with no backend. A complete React example that submits with fetch, shows an inline success message, and reports errors accessibly.
How to create a form in Astro (with Astro Actions)
Add a contact form to your Astro site with no backend. Copy-paste examples for a plain HTML form, a JavaScript submission with an inline thank-you, and the modern Astro Actions approach with server-side Zod validation.
How to create a React form (with validation)
Build a React contact form with no backend. Copy-paste examples for a plain HTML form, a fetch submission with success and error states, validation with React Hook Form and Zod, and the React 19 form action with useActionState.
Add a form backend to your site in minutes
Connect any HTML form to FormBackend and start collecting submissions — no backend code required.
Start free