How to create a Nuxt form (with validation)
Build a Nuxt contact form with no backend. Copy-paste examples for a plain form, a Vue 3 script-setup submission, validation with Nuxt UI and a Zod schema, and a Nuxt server route that keeps your endpoint private.
Nuxt is a very popular framework for building Vue.js applications. It comes with great out-of-the-box choices already made for you, so you can be as productive as possible when building your app.
This guide shows you how to add a Nuxt contact form that collects submissions and emails you on every new one — without writing or hosting any backend code. We’ll start with a plain form, enhance it with Vue 3’s Composition API, then add validation with Nuxt UI and a Zod schema, and finish by proxying the request through a Nuxt server route to keep your endpoint private.
Create a new NuxtJS app
We’ll start from scratch and assume you don’t have an existing NuxtJS site. If you do have a site already, you can proceed to the next section. It might be a good idea to have the NuxtJS documentation handy as well in case you have further questions.
Let’s create a new Nuxt application using nuxi. Make sure you have Node.js 18 or later installed.
In your terminal, run the following:
npx nuxi@latest init my-project
The installer will ask you a series of questions. What you pick here is completely up to you and doesn’t really impact how we’re going to add the form, so pick what you like.
After everything has completed, go to your project directory and start the dev server:
cd my-project
npm run dev
Visit the URL shown in your terminal (usually http://localhost:3000) and you should see the Nuxt welcome page. Next thing we’ll do is add a contact form.
Add a contact form
Log in to your FormBackend account and visit the forms index page. Go ahead and create a new form and give it a name you can remember it by.
After your form has been created, you’ll see the “Submissions” page which is where new submissions will appear. If you navigate to the “Set up” page you can see the unique URL for your form. We’ll copy that!
Create a new Contact page in NuxtJS and hook up your form endpoint
Now that we have the form endpoint in FormBackend, we can add the form to NuxtJS. To do this we’re going to create a new file called contact.vue in the /pages directory in the NuxtJS app you just created.
We’ll add the following code to it:
<template>
  <div>
    <h1>Contact us</h1>
    <p>Send us a message!</p>

    <form action="https://www.formbackend.com/f/{your-identifier}" method="POST">
      <div class="fieldset">
        <label for="name">Name</label>
        <input type="text" id="name" name="name" required>
      </div>

      <div class="fieldset">
        <label for="email">Email</label>
        <input type="email" id="email" name="email" required>
      </div>

      <div class="fieldset">
        <label for="message">Message</label>
        <textarea name="message" id="message" rows="5" cols="25" required></textarea>
      </div>

      <button type="submit">Send message</button>
    </form>
  </div>
</template>
Notice the action-attribute on the form itself, you need to paste in the unique URL for your form that you copied in the previous step and paste that in here.
The form doesn’t have to just have a Name, Email and Message field - you can add as many fields as you want of whatever type you want. They just need to have a unique name attribute, so we can store the
data properly in FormBackend.
Nuxt automatically hooks up your newly created page in its routing, so you can access it by visiting http://localhost:3000/contact.
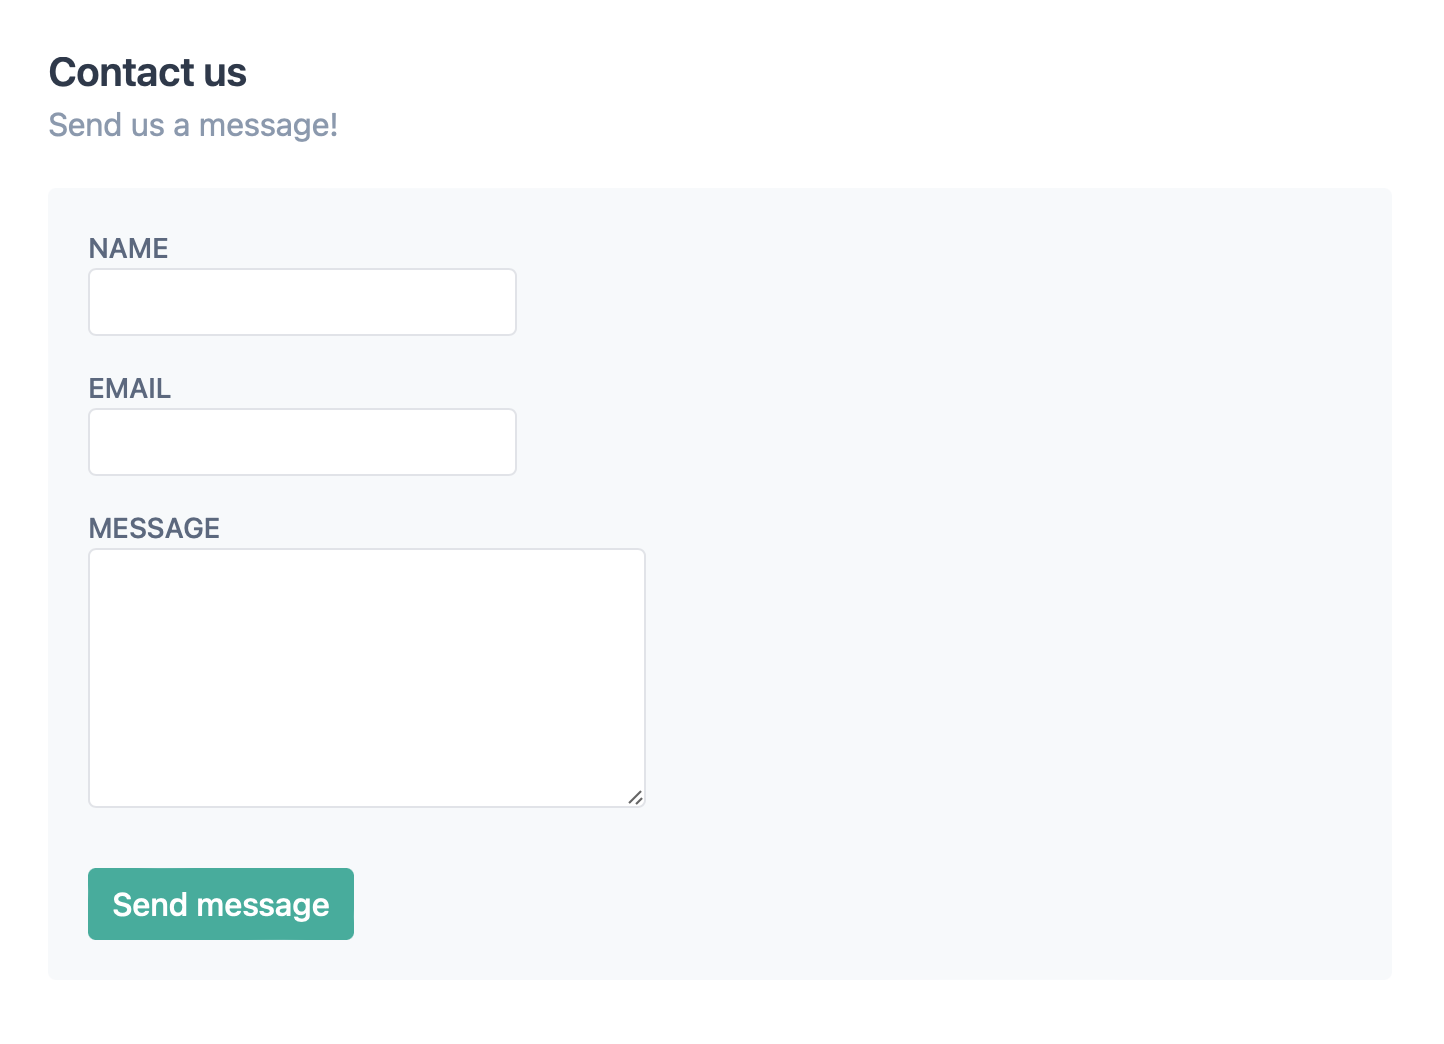
With a little bit of styling we’ll end up with a form that looks like this:
After filling it out and hitting the submit button, you’ll be taken to FormBackend’s submission success page and if you navigate to the Submissions page for the form you created in FormBackend you should see the submission you just added.
Submitting with JavaScript
The plain HTML form redirects to FormBackend’s default page after submission. To keep users on
the same page and show a success message inline, submit it in the background with Vue 3’s
Composition API. Update pages/contact.vue:
<script setup>
import { ref } from 'vue'

const status = ref('idle')

async function handleSubmit(event) {
  status.value = 'submitting'

  const form = event.target
  const response = await fetch(form.action, {
    method: 'POST',
    body: new FormData(form),
    headers: { accept: 'application/json' },
  })

  if (response.ok) {
    form.reset()
    status.value = 'success'
  } else {
    status.value = 'error'
  }
}
</script>

<template>
  <div>
    <h1>Contact us</h1>
    <p v-if="status === 'success'">Thanks! Your message has been sent.</p>
    <form
      v-else
      action="https://www.formbackend.com/f/{your-identifier}"
      method="POST"
      @submit.prevent="handleSubmit"
    >
      <div class="fieldset">
        <label for="name">Name</label>
        <input type="text" id="name" name="name" required>
      </div>

      <div class="fieldset">
        <label for="email">Email</label>
        <input type="email" id="email" name="email" required>
      </div>

      <div class="fieldset">
        <label for="message">Message</label>
        <textarea name="message" id="message" rows="5" required></textarea>
      </div>

      <button type="submit" :disabled="status === 'submitting'">
        {{ status === 'submitting' ? 'Sending…' : 'Send message' }}
      </button>
      <p v-if="status === 'error'">Something went wrong — please try again.</p>
    </form>
  </div>
</template>
The @submit.prevent modifier stops the default page reload, the browser’s FormData reads every field for you, and the accept: application/json header makes FormBackend return JSON instead of an HTML page. If you’d prefer to keep your endpoint URL off the client, move the fetch into a Nuxt server route and forward the request to FormBackend from there.
Validate with Nuxt UI and a schema
If you’re using Nuxt UI, its UForm component validates against a
Zod (or Valibot) schema and renders the error under each field for you. Add
the module:
npx nuxi module add ui
Then pass the schema and a reactive state object to UForm, and give each UFormField a
name that matches a key in the schema:
<script setup>
import * as z from 'zod'

const schema = z.object({
  name: z.string().min(1, 'Please enter your name'),
  email: z.string().email('Please enter a valid email'),
  message: z.string().min(1, 'Please enter a message'),
})

const state = reactive({ name: '', email: '', message: '' })
const status = ref('idle')

async function onSubmit(event) {
  status.value = 'submitting'

  const body = new FormData()
  Object.entries(event.data).forEach(([key, value]) => body.append(key, value))

  await $fetch('https://www.formbackend.com/f/{your-identifier}', {
    method: 'POST',
    body,
    headers: { accept: 'application/json' },
  })

  status.value = 'success'
}
</script>

<template>
  <p v-if="status === 'success'" role="status">Thanks! Your message has been sent.</p>
  <UForm v-else :schema="schema" :state="state" @submit="onSubmit">
    <UFormField label="Name" name="name">
      <UInput v-model="state.name" />
    </UFormField>

    <UFormField label="Email" name="email">
      <UInput v-model="state.email" type="email" />
    </UFormField>

    <UFormField label="Message" name="message">
      <UTextarea v-model="state.message" />
    </UFormField>

    <UButton type="submit" :loading="status === 'submitting'">Send message</UButton>
  </UForm>
</template>
UForm only fires @submit once the schema passes, and event.data is the validated payload —
which we turn into FormData and post to FormBackend. reactive, ref, and $fetch are
auto-imported by Nuxt, so there’s nothing extra to import.
Keep your endpoint private with a Nuxt server route
Because Nuxt has a server, you can hide your FormBackend URL from the browser by posting to a
server route that forwards the request.
Create server/api/contact.post.js:
export default defineEventHandler(async (event) => {
  const formData = await readFormData(event)

  return await $fetch('https://www.formbackend.com/f/{your-identifier}', {
    method: 'POST',
    body: formData,
    headers: { accept: 'application/json' },
  })
})
Then point the form’s fetch at your own route instead of FormBackend:
const response = await $fetch('/api/contact', {
  method: 'POST',
  body: new FormData(form),
})
Now the FormBackend endpoint only ever lives on the server, and you can add extra checks (rate limiting, a server-side honeypot, logging) in the handler before forwarding.
Set up notifications and integrations
Your Nuxt form is working. Here’s what to configure next in FormBackend:
- Email notifications: Receive an email for every submission, with optional file attachments
- Auto-reply emails: Confirm receipt automatically to the submitter
- Spam protection: Spam filtering is on by default. For extra security, add hCaptcha or Cloudflare Turnstile
- Integrations: Send submissions to Slack, Google Sheets, Airtable, or your own backend via webhooks
Guides for other frameworks: Vue.js, React, Next.js, Astro, Svelte, and more.
Frequently asked questions
Do I need a backend for a Nuxt contact form?
No. With FormBackend your Nuxt form posts directly to a hosted endpoint, so there's no server route or database to build. FormBackend stores each submission and emails you when one arrives.
How do I submit a Nuxt form without reloading the page?
Use Vue's @submit.prevent modifier to stop the default submission, then send the form's data with fetch and the browser's FormData. Set the accept header to application/json so FormBackend returns JSON. A full Nuxt 3 example is shown above.
Should I use a Nuxt server route or post directly to FormBackend?
Posting directly to FormBackend is the simplest approach and needs no server code. If you'd rather keep your endpoint URL off the client, you can proxy the request through a Nuxt server route (server/api) and forward it to FormBackend.
Does this work with Nuxt 3 and the Composition API?
Yes. The example uses Nuxt 3 with <script setup> and the Composition API, the current recommended style. The plain HTML form works on any Nuxt version.
How do I validate a form in Nuxt?
The simplest path is Nuxt UI's UForm component with a Zod (or Valibot) schema. Pass the schema and a reactive state object to UForm, wrap each input in a UFormField with a matching name, and Nuxt UI validates on submit and shows the errors automatically. A full example is shown above.
How do I add spam protection to a Nuxt form?
FormBackend filters spam automatically. For stronger protection add Cloudflare Turnstile or hCaptcha, or include a hidden honeypot field. See the spam filtering guides for setup.
Keep reading
How to add a form to your Gatsby site
Add a contact form to your Gatsby site with no backend. A complete React example that submits with fetch, shows an inline success message, and reports errors accessibly.
How to create a form in Astro (with Astro Actions)
Add a contact form to your Astro site with no backend. Copy-paste examples for a plain HTML form, a JavaScript submission with an inline thank-you, and the modern Astro Actions approach with server-side Zod validation.
How to create a Svelte form (with validation)
Build a Svelte (SvelteKit) contact form with no backend. Copy-paste examples for a plain form, a JavaScript submission with success and error states, and a SvelteKit form action with server-side Zod validation.
Add a form backend to your site in minutes
Connect any HTML form to FormBackend and start collecting submissions — no backend code required.
Start free