How to add a contact form to your Hugo site
Add a contact form to your Hugo static site with no backend. Copy-paste a layout template plus an optional JavaScript submission with an inline thank-you message.
Hugo is a framework to build websites. In this guide we’ll show you how to add a form to your Hugo website.
Create a new Hugo app
Let’s go ahead by installing Hugo using Homebrew which is what they recommend on their website:
brew install hugo
After the installation is complete, we can create a new site by running:
hugo new site formbackend-hugo
Where formbackend-hugo is the directory we want the Hugo site to be created in.
We need to add a theme before we’ll really see anything. You can find one at https://themes.gohugo.io - we’re just going to go with ananke. We’re going to do this by using Git.
Go ahead and initialize a new git repository in the formbackend-hugo directory we just created by typing:
git init .
Now we’re going to add the theme as a submodule by running
git submodule add https://github.com/theNewDynamic/gohugo-theme-ananke.git themes/ananke
We need to update the config file to specify that we want to use this theme. So open up your Hugo config file in the root (hugo.toml on newer versions, or config.toml on older ones) and add the following line at the bottom:
theme = "ananke"
You can now start the server by running hugo server, this will
start a hot-reloading development server that refreshes every time you make any changes.
You should see the following when visiting http://localhost:1313

Add a contact form
Log in to your FormBackend account and visit the forms index page. Go ahead and create a new form and give it a name you can remember it by.
After your form has been created, you’ll see the “Submissions” page which is where new submissions will appear. If you navigate to the “Set up” page you can see the unique URL for your form. We’ll copy that!
Create the contact us page using Hugo
Let’s add a new contact us page. There are a few things we need to do. Let’s start by creating a file named contact.md in the content directory.
Add the following at the top of that file:
---
title: "Contact"
layout: "contact"
---

Send us a message
Let’s go ahead and create a corresponding layout file for this page, which is needed since we want to add raw-HTML. Create a new file in layout/page/contact.html - you’ll most likely
have to create the page directory inside of layout/page. The file should look like this:
{{ define "main" }}
<div class="w-60 center">
  {{ .Content }}

  <form action="https://www.formbackend.com/f/{your-identifier}" method="POST">
    <div class="mt2">
      <label for="name" class="db mb1">Name</label>
      <input type="text" id="name" name="name" required>
    </div>

    <div class="mt2">
      <label for="email" class="db mb1">Email</label>
      <input type="email" id="email" name="email" required>
    </div>

    <div class="mt2">
      <label for="message" class="db mb1">Message</label>
      <textarea id="message" name="message" required></textarea>
    </div>

    <button type="submit">Submit</button>
  </form>

</div>
{{ end }}
The theme we’re using is using Tachyons for styling, which is a CSS framework similar to TailwindCSS. So the classes like db and mb1 all come from Tachyons. But you
can style it exactly the way you want it doing it your way :)
You need to change the action-attribute of your form to the unique URL we gave you when you created the form in FormBackend.
So what you see in the layout/page/contact.html file, is the form HTML and a {{ .Content }} placeholder. The “Send us a message” text you added in content/contact.md will be rendered instead of {{ .Content }}.
So if you visit http://localhost:1313/contact/ in your browser you should now see
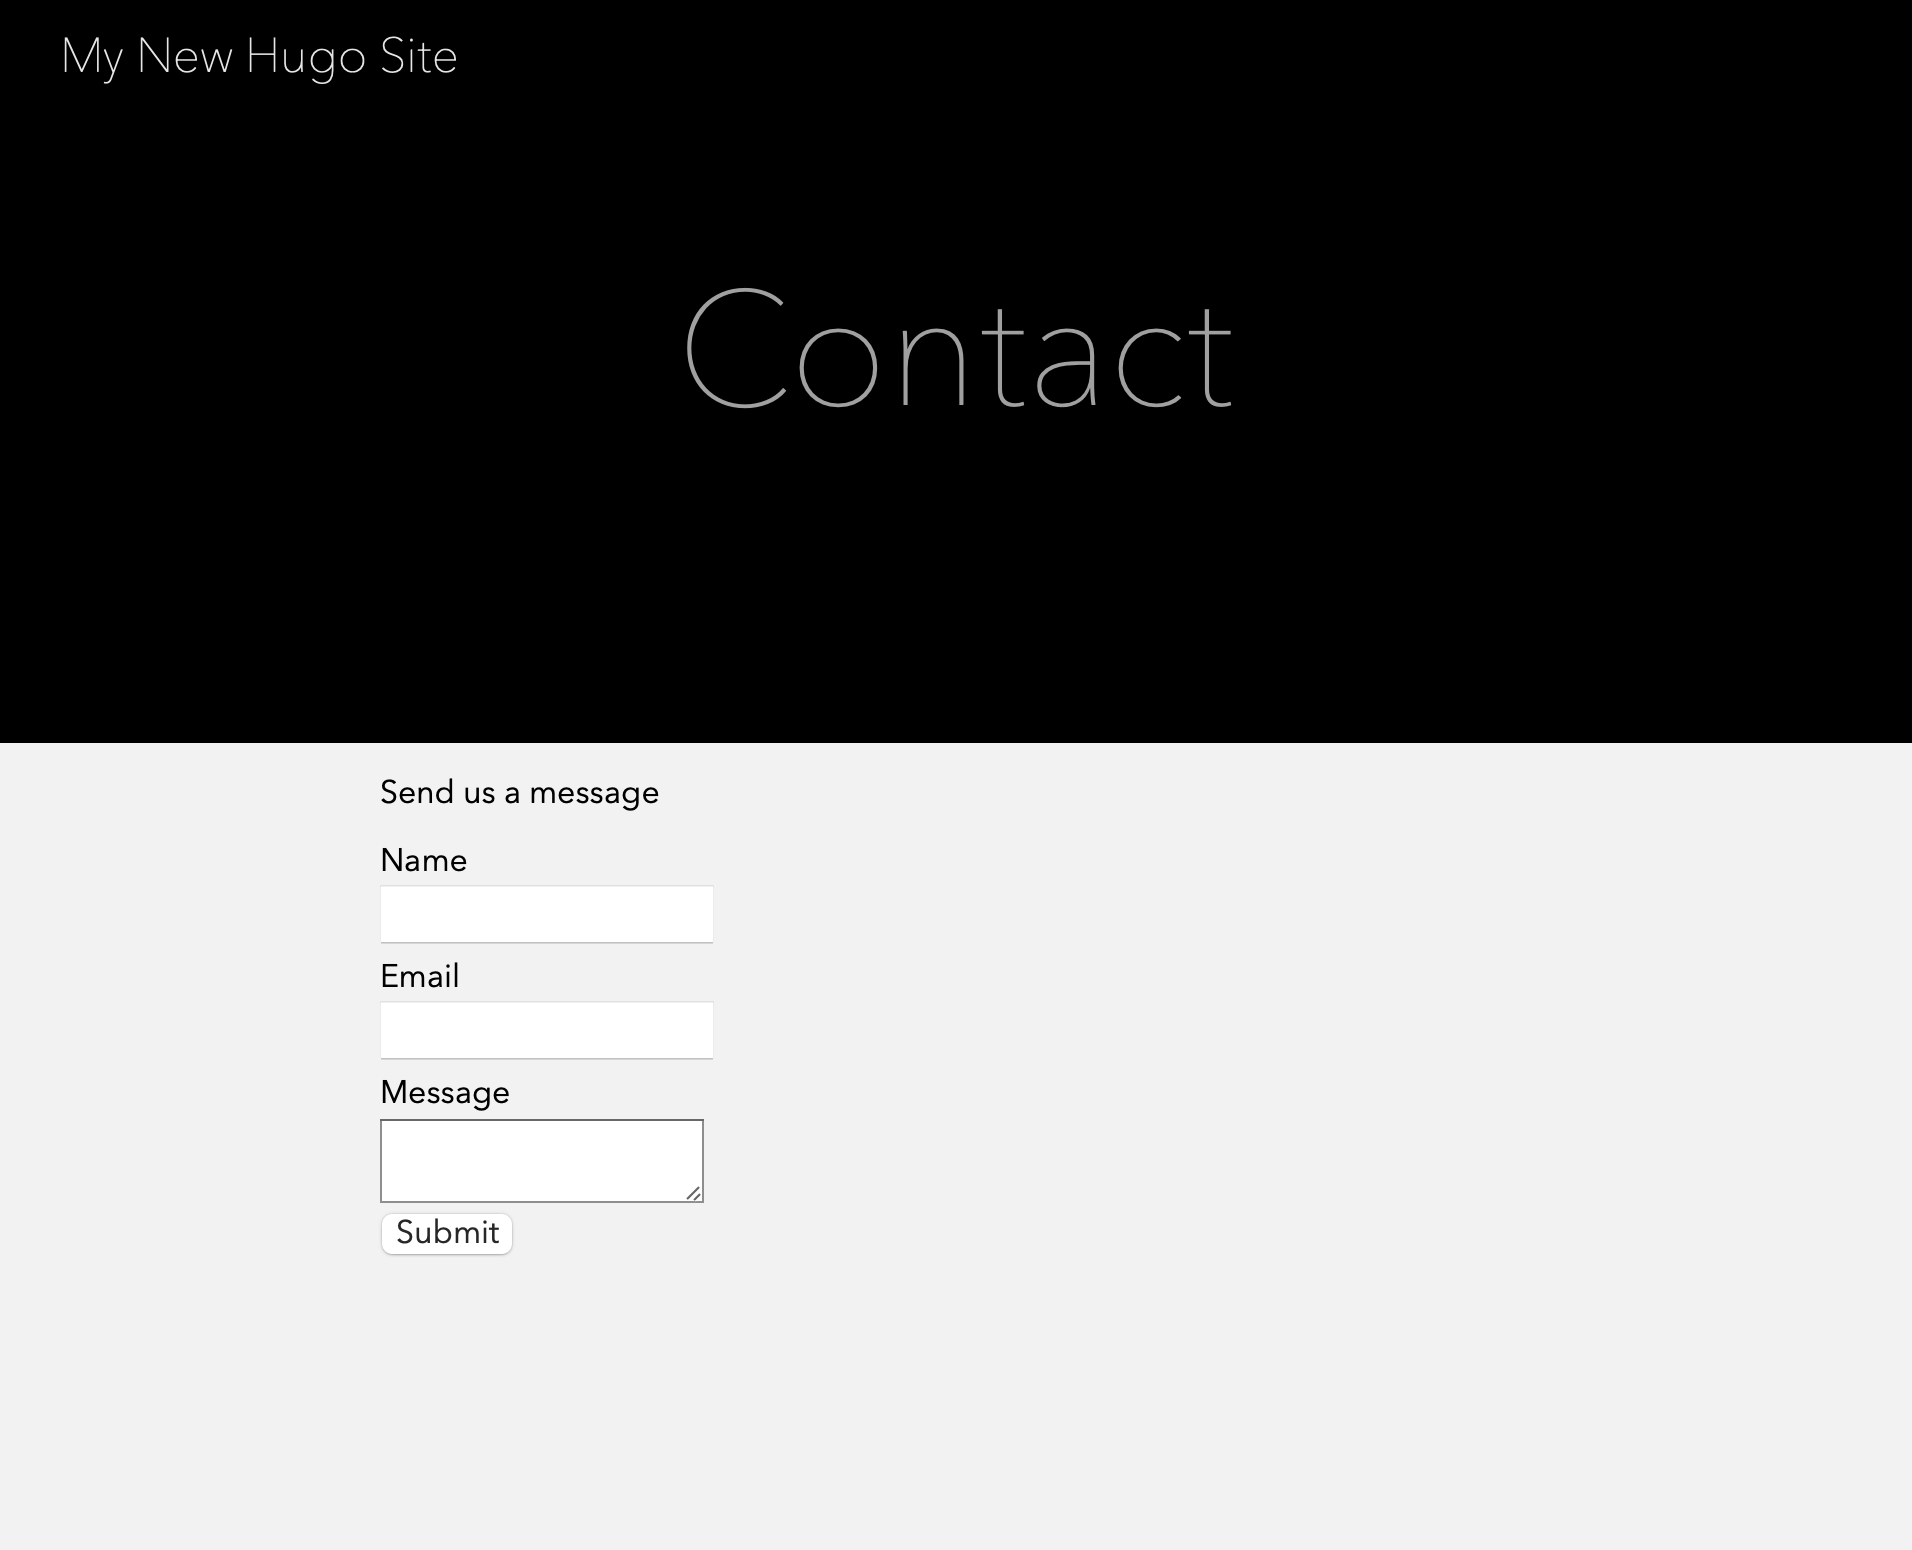
It of course leaves something to be desired. But this part is up to you, you control the HTML, you control the styling. You can add as many fields as you want and of every type. All they need is a unique name attribute.
Handling submissions with JavaScript
Hugo generates static HTML, so the default form behavior redirects to FormBackend’s thank-you
page. To keep users on the page and show a success message, add a small script at the bottom of
your layout/page/contact.html template, just before {{ end }}:
<script>
  const form = document.querySelector('form');

  form.addEventListener('submit', async (event) => {
    event.preventDefault();

    const response = await fetch(form.action, {
      method: 'POST',
      body: new FormData(form),
      headers: { accept: 'application/json' },
    });

    if (response.ok) {
      form.innerHTML = '<p>Thanks! Your message has been sent.</p>';
    } else {
      form.insertAdjacentHTML('beforeend', '<p>Something went wrong — please try again.</p>');
    }
  });
</script>
Calling event.preventDefault() stops the full-page submission, the browser’s built-in
FormData collects every field, and the
accept: application/json header tells FormBackend to return JSON instead of an HTML page.
What to configure next
Your Hugo contact form is live. Here are some things to set up in FormBackend:
- Email notifications: Receive an email for every submission, with optional file attachments
- Auto-reply emails: Automatically confirm receipt to the person who submitted
- Spam protection: Built-in spam filtering runs on every submission. Add hCaptcha or Cloudflare Turnstile for extra security
- Integrations: Forward submissions to Slack, Google Sheets, Discord, or any service via webhooks
- File uploads: Accept file uploads by adding
enctype="multipart/form-data"to your form - Custom redirect: Send users to a specific page on your site after submitting
Guides for other static site generators: Jekyll, Eleventy, Gatsby, Astro, and more.
Add a form backend to your site in minutes
Connect any HTML form to FormBackend and start collecting submissions — no backend code required.
Start free