FormBackend is perfect for static sites. Let’s take a look at how you’d hook up a simple HTML form with React.
In this guide we aim to show you how to add a contact form to React and send emails when a new submissions is received.
We’ll start with the basics and assume you don’t have an existing React app. If you do, you can proceed to the next section.
Let’s start out by creating a React ap using create-react-app through npx.
Run the following in your terminal:
npx create-react-app formbackend-react
formbackend-react is the directory of the app and can of course be whatever you’d like.
Let’s go to the directory
cd formbackend-react
and start the server with
npm start
Your browser should open with http://localhost:3000 loaded, which is the development server. It should look like this:

Log in to your FormBackend account and visit the forms index page. Go ahead and create a new form and give it a name you can remember it by.
After your form has been created, you’ll see the “Submissions” page which is where new submissions will appear. If you navigate to the “Set up” page you can see the unique URL for your form. We’ll copy that!
Now that we have our endpoint in FormBackend we can go ahead and hook it up to a form in React.
Open the file src/App.js and replace it with
import './App.css';

function App() {
  return (
    <form accept-charset="UTF-8" action="https://www.formbackend.com/f/664decaabbf1c319" method="POST">
      <div class="fieldset">
        <label htmlFor="name">Name</label>
        <input type="text" id="name" name="name" required/>
      </div>

      <div class="fieldset">
        <label htmlFor="email">Email</label>
        <input type="email" id="email" name="email" required/>
      </div>

      <button type="submit">Submit</button>
    </form>
  );
}

export default App;
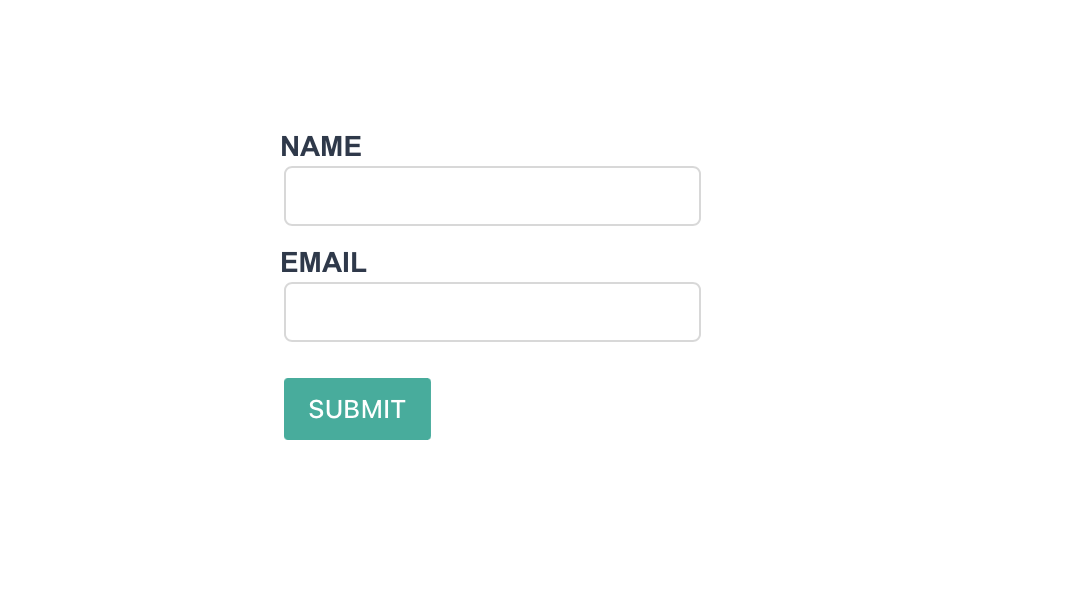
If you go back to the browser it should look like this

Let’s add some simple styling by replacing the content of src/App.css with this
body { font-family: Arial, Helvetica, sans-serif; }

.fieldset + .fieldset,
form + form {
  margin-top: 8px;
}

label {
  color: #334155;
  display: block;
  font-size: 87.5%;
  font-weight: bold;
  text-transform: uppercase;
}

input,
textarea,
select {
  border: 1px solid #ddd;
  color: #475569;
  font-size: 100%;
  padding: 5px;
  border-radius: 4px;
}

button[ type="submit"] {
  background: purple;
  background: #14b8a6;
  border: none;
  box-shadow: none;
  color: white;
  border-radius: 2px;
  font-size: .8rem;
  text-transform: uppercase;
  font-weight: 500;
  padding: 8px 12px;
  margin-top: 16px;
}
You should now have a form that looks a litlte nicer

After filling it out and hitting the submit button, you’ll be taken to FormBackend’s submission success page and if you navigate to the Submissions page for the form you created in FormBackend you should see the submission you just added.
We’ve just scratched the surface of what you can do with FormBackend.
If you want to send an email to the submitter when they submit your form, navigate to the Notifications tab and go to the “Send email to the submitter” section. Here you can customize who the email is from, and what the Subject and email body should be. This way you can let the submitter know that you received their submission and will get back to them shortly - or maybe they signed up for a mailing list and you want to send them a link to some beginner content.
You can also send an email to yourself with the data that was submitted with your form. We even allow for attachments and will attach those to the email.
Or you can use webhooks, integrate with Zapier or send the submissions to Google Sheets or Slack using our native integrations.
Every submission is of course checked to see if it’s spam and if it is it’s filtered into the spam inbox.