How to create a simple HTML contact form
Learn how to create a simple HTML contact form that sends you an email. Compare PHP and no-code approaches with ready-to-use code examples.
In this guide we’ll look at how to create a simple HTML contact form that sends you an email, with as little code as possible.
Almost every website collects form submissions one way or the other. It could be a simple contact form, a support request, an order form etc. There are many different ways of doing so. There are solutions like Typeform, Google Forms etc - but in this tutorial we’re first going to take a look at how to accomplish this using just PHP and then we’re going to take a look at how simple it is when you use FormBackend.
Table of contents
- Create a simple HTML contact form
- Style your HTML contact form
- Option 1: Using PHP to capture the submissions
- Option 2: Process your HTML contact form using FormBackend
- Create a FormBackend account
- Accepted HTML form fields
- Labels
- Text field
- Textarea field
- Email field
- Telephone field
- Date field
- Password field
Create a simple HTML contact form
Let’s take a look at how to create a simple HTML contact form that consists of three form-fields: name, email and message. We can either do this by hand, or we can use the form generator that we offer for free.
This is what our HTML will look like:
<!DOCTYPE html>
<html lang="en">
  <head>
    <meta charset="UTF-8" />
    <meta name="viewport" content="width=device-width, initial-scale=1.0" />
    <title>Contact us</title>
    <link rel="stylesheet" href="style.css" />
  </head>
  <body>
    <form action="🔥🔥🔥 CHANGE THIS 🔥🔥🔥" method="POST" class="formbackend-form">
      <div class="formbackend-field">
        <label for="name">Your name</label>
        <input type="name" id="name" name="name" placeholder="John Doe" required="true">
      </div>

      <div class="formbackend-field">
        <label for="email">Your email</label>
        <input type="email" id="email" name="email" placeholder="johndoe@example.com" required="true">
      </div>

      <div class="formbackend-field">
        <label for="message">Your message</label>
        <textarea id="message" name="message" placeholder="Your message..." required="true"></textarea>
      </div>

      <div class="formbackend-field">
        <button type="submit">Send</button>
      </div>
    </form>
  </body>
</html>
You can take the above HTML and paste it to a file named index.html. This is going to be our basic contact form.
Style your HTML contact form
Use the following CSS to style your contact form so it’ll look a little nicer:
@import url('https://fonts.googleapis.com/css2?family=Inter:wght@400;500&display=swap');

.formbackend-form { width: 400px; font-family: "Inter", sans-serif; font-size: 14px; font-weight: 400; color: #333; line-height: 24px }
.formbackend-form .formbackend-field:not(:first-child) { margin-top: 16px }
.formbackend-form label { display: block }
.formbackend-form input { padding: 12px; margin-top: 4px; margin-bottom: 16px; width: 100%; border: 1px solid #ccc; border-radius: 4px; box-sizing: border-box; display: block; height: 40px }
.formbackend-form textarea { min-height: 100px }
.formbackend-form input[type='checkbox'] { width: 15px; height: 15px; margin: 0px; margin-right: 8px; display: inline-block }
.formbackend-form .form-checkbox { display: flex; align-items: center }
.formbackend-form textarea, .formbackend-form input, .formbackend-form select { padding: 12px; margin-top: 4px; margin-bottom: 16px; width: 100%; border: 1px solid #ccc; border-radius: 4px; box-sizing: border-box; display: block; font-family: "Inter", sans-serif; font-size: 14px }
.formbackend-form ::placeholder { opacity: 0.8 }
.formbackend-form button { padding: 0 26px; background-color: #000; color: #fff; border: none; border-radius: 4px; cursor: pointer; height: 40px }
.formbackend-form button:hover { opacity: 0.9 }
You should copy the above and paste it to a file named style.css (notice how we reference this file inside the head-section of our HTML file).
Option 1: Using PHP to capture the submissions
To be able to receive the submissions from our form above, we need to point the HTML form at our php file.
Go ahead and change the action-attribute of the form to contact-form.php.
Let’s go ahead and create a new file named contact-form.php with the following content:
<?php
if (isset($_POST['email'])) {

    $to = "you@awesomecompany.com";
    $subject = "You've received a new submission";

    function problem($error)
    {
        echo "Looks like something went wrong: <br><br>";
        echo $error . "<br><br>";
        die();
    }

    $name = $_POST['name']; // required
    $email = $_POST['email']; // required
    $message = $_POST['message']; // required

    $error_message = "";
    $email_exp = '/^[A-Za-z0-9._%-]+@[A-Za-z0-9.-]+\.[A-Za-z]{2,4}$/';

    if (!preg_match($email_exp, $email)) {
        $error_message .= 'Email address is invalid.<br/>';
    }

    if (strlen($message) < 2) {
        $error_message .= 'Message should be longer than 2 characters<br>';
    }

    if (strlen($error_message) > 0) {
        problem($error_message);
    }

    $message = "The submitted values:\n\n";

    function clean_string($string)
    {
        $bad = array("content-type", "bcc:", "to:", "cc:", "href");
        return str_replace($bad, "", $string);
    }

    $message .= "Name: " . clean_string($name) . "\n";
    $message .= "Email: " . clean_string($email) . "\n";
    $message .= "Message: " . clean_string($message) . "\n";

    // Set email headers
    $headers = 'From: ' . $email . "\r\n" .
        'Reply-To: ' . $email . "\r\n" .
        'X-Mailer: PHP/' . phpversion();

    // Send email
    @mail($to, $subject, $message, $headers);
?>

    Thank you so much for reaching out. We'll get back to you as soon as possible!

<?php
}
?>
In the above you can change $email and $subject towards the top of the file to your email and your subject of choice.
What does the code do you might ask? We capture the values that are submitted via the form using $_POST referring to each of the fields. We then
perform some basic validations of the data. Ensuring that the email is a valid email address (matching a given pattern) and that the message is longer than 2 characters. If there
are errors we display an error message to the user, and if everything is good we send the email and show a success-message.
There are a few things to keep in mind from the above.
We are not protected against spam there are nothing that checks if the message comes from a human. When exposing a form online, there are a lot of bots and malicious actors that submit it - implementing a spam filter is time consuming and can be hard to get right.
File uploads aren’t handled - it becomes a lot more complicated if you want to receive uploaded files,
Option 2: Process your HTML contact form using FormBackend
If you want to handle some of the cases we don’t handle in the above. Using a form processing service like FormBackend might be a good idea. That’ll give you things like spam detection, incoming- and outgoing-emails out of the box, file-uploads, send to 3rd-parties and much more.
The only thing you do, is to change the action-attribute for your form in your index.html file.
Create a FormBackend account
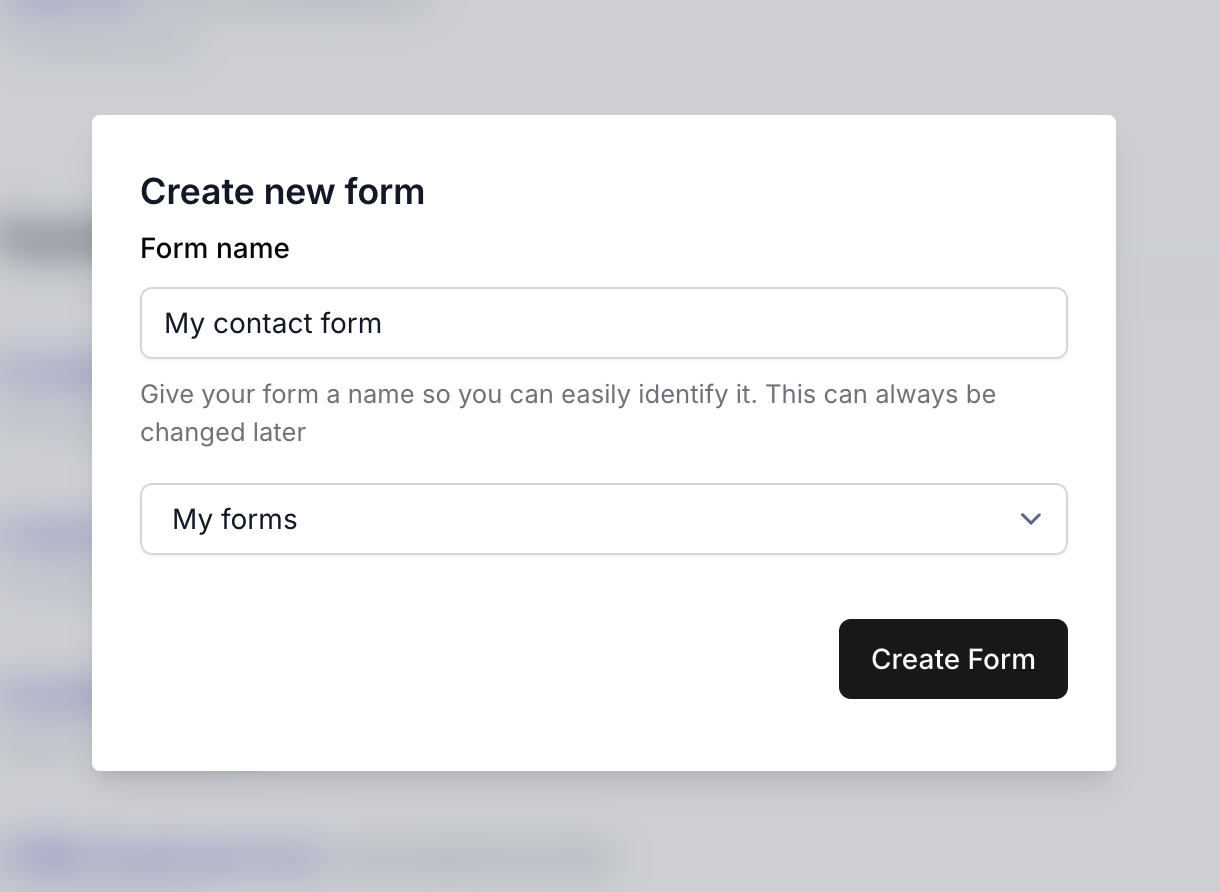
Visit https://www.formbackend.com and sign up for a new account. Once you have done that, go ahead and create your “Contact form”-backend in FormBackend. This can be done by clicking the “Create new form” button.
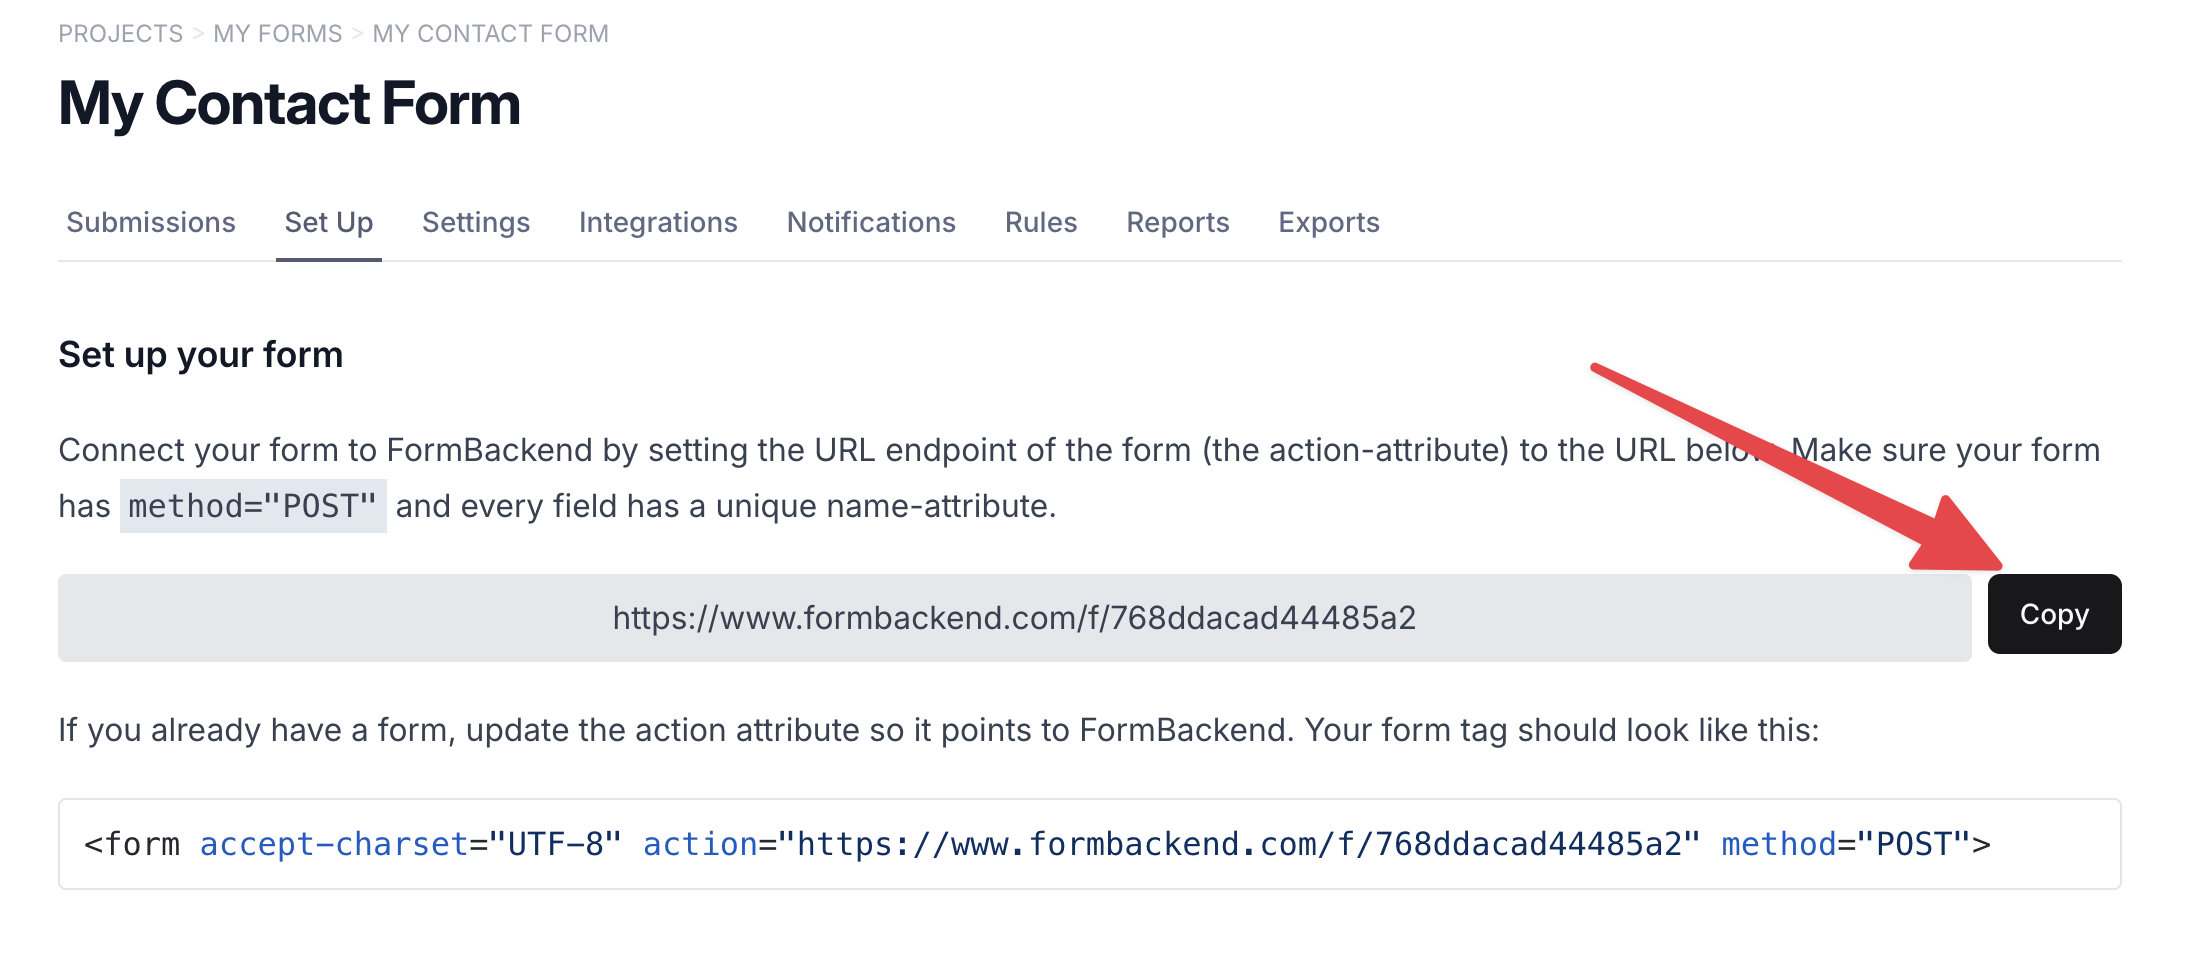
You now need to copy the unique URL that FormBackend gives you and add that to the action-attribute of your HTML contact form.
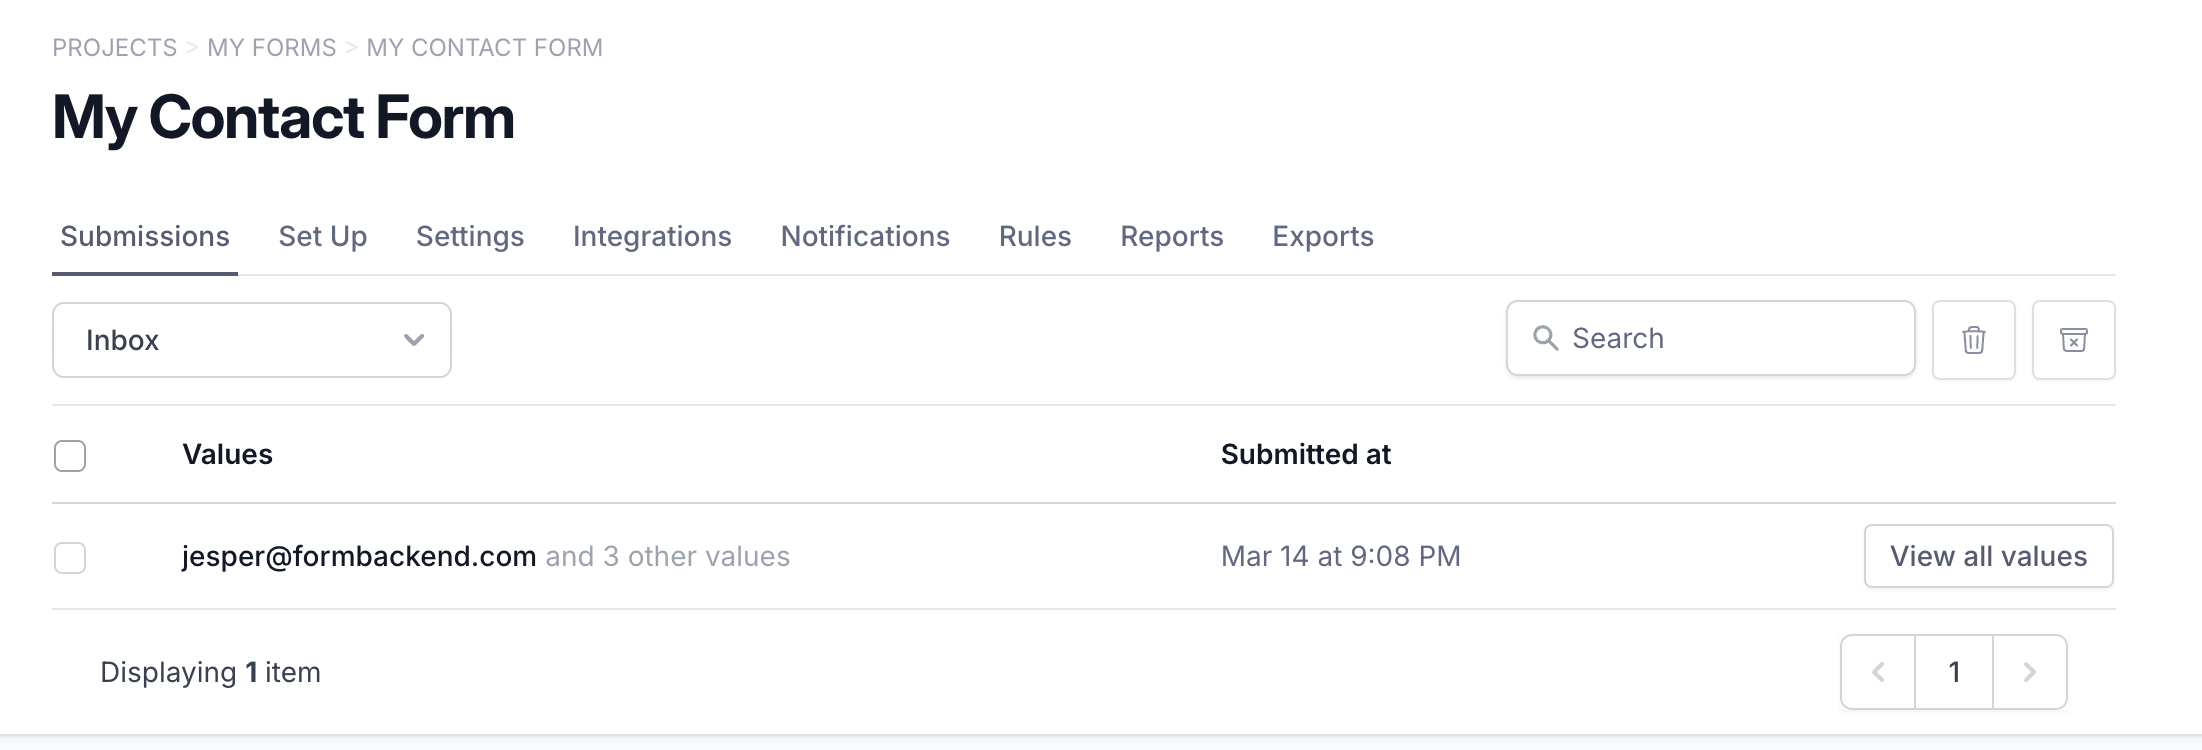
You can now try and submit the form in your browser, and you should see a success page that says “Thank you for your submission” and see your submission show up on the submissions-tab in FormBackend.
You can navigate to the settings-tab if you want to change the text that the user sees once they have submitted your form.
By only changing the action-attribute, you have accomplished being able to receive a form submission for your HTML contact form. You can easily customize the “Thank you page” or redirect the user to another URL. Spam is all taken care of, and you can set up sending/receiving emails when a form is submitted.
You can add as many different email addresses as you’d like and send them a notification when a submission comes in, as well as send an email to the user submitting your form - letting them know that you have received their submission and will get back to them soon.
Accepted HTML form fields
We support all form fields that are supported by browsers. Here are some of the most common ones.
Labels
A label is used to describe a form-field. It’s as simple as
<label for="name">Your name</label>
<input type="text" name="name" id="name" />
Where the for-attribute of the label refers to the id-attribute of the form. This also helps with screen readers.
Text fields
Text fields are used for shorter text inputs, they look like this
<input type="text" name="name" id="name" placeholder="Your name" required />
Notice how you can give it a placeholder, which is the faded text that the user sees before filling them out and you can also mark them as required by giving them a required attribute. This goes for all fields.
Textarea field
The textarea is used for longer form text.
<textarea id="message" rows="5" cols="10" required></textarea>
You can set the visual size of it using rows and cols as well.
Email field
An input field can have a type of email. If you submit this field without @ in the content, the browser will show an error. On devices like phones and tablets
it’ll bring up a keyboard optimized for email input.
<input type="email" name="email" id="email" placeholder="your@email.com" />
Telephone field
This field will bring up the telephone keyboard on devices like tablets and phones. You can use pattern to give it a regex
the input will have to match.
<input type="tel" name="phone" id="phone" pattern="[0-9]{3}-[0-9]{2}-[0-9]{3}" />
Date field
A date field will show a date-picker when you click into it. You can specify constraints for what input is accepted.
<input type="date" name="start_date" value="2024-03-14" min="2024-01-01" max="2024-12-31" />
Password field
Password field is normal text field but the difference is the value you entered will be masked to hide sensitive information.
<input type="password" name="password" id="password" />
Features to configure in FormBackend
Once your HTML form is connected to FormBackend, you can set up:
- Email notifications: Get an email every time someone submits your form, with optional file attachments
- Auto-reply emails: Send a confirmation email to the person who submitted
- Spam protection: Submissions are checked for spam automatically. Add Cloudflare Turnstile or reCAPTCHA for extra protection
- AJAX submissions: Submit without a page redirect by posting with JavaScript and setting the
acceptheader toapplication/json - File uploads: Accept file uploads by adding
enctype="multipart/form-data"to your form - Integrations: Forward submissions to Slack, Google Sheets, Discord, or any URL via webhooks
- Custom redirect: Send users to a page on your site after they submit, with submitted values in the URL
Want to use a framework instead? See our guides for React, Next.js, Vue.js, WordPress, and more.
Add a form backend to your site in minutes
Connect any HTML form to FormBackend and start collecting submissions — no backend code required.
Start free